Guides
How to Detect Gas Leakage in Oxyacetylene Welding System?

It is important to be aware of any leakage in the oxyacetylene system. But sometimes it can be very hard to detect the leakage. In the following paragraphs, I will describe in detail how you can efficiently identify gas leakage in an oxyacetylene system.
To detect leaks in the oxyacetylene system, use soap water or a leak detector spray, which produces bubbles when there is a leak and is also safe to use. Another simple method is to turn off the tank and note the pressure gauge reading; if there is a change in gauge reading after 1 or 2 hours, it indicates that there is a leak, but this method will not give you the exact leakage position.
Finding the exact location of the leakage can be difficult at times. As a result, we must follow the proper procedure to ensure that we can detect the exact location of the leakage without causing damage to the system. In the following paragraphs, we will also discuss some of the ways to repair those leaks.
Detecting the Leakage in Oxyacetylene Welding System
So you’ve paid for your Oxyacetylene gas and don’t want to waste it. Furthermore, oxyacetylene leaks can be hazardous. Just keep in mind that the more fittings you have, such as hoses and regulators, the greater the possibility of a leak.
But first, we must determine whether or not there is a leak before proceeding to locate it.
- The first step is to turn off the torch. Make sure that the torch valves are tight.
- The next step is to make a note of where the pressure gauge needle is.
- Next, turn off the tank but do not loosen the pressure adjustment knob.
- Find something you enjoy doing for an hour. Then come back and check the pressure gauge needle.
- After an hour, the needle is either in the same position or has moved. This means there are no leaks. The needle may have dropped slightly, indicating that you have a very slow leak. If the needle has dropped all the way down, it means you have a leak that needs to be repaired.
If you do discover a leak, the next step is to pinpoint the location of the leak. As I previously stated, the more fittings you have, the more chances of a leak, and thus the more places you’ll have to look for a leak. So I’d use some soap and a small amount of water. Then I go over all of the fittings. The locations where you can see little bubbles coming out. This is your leak location.
Fixing the Leakage
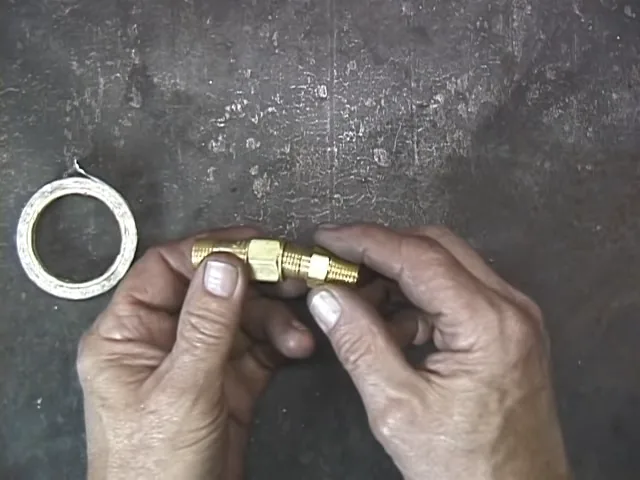
Depending on the location of the leak, you can easily repair it. If the leak is caused by a broken valve or nut. You can easily repair it by tightening it. For ceiling joints, I prefer to use tape on the ceiling. But if your hands are dirty and oily and you still can’t get them to stick, I recommend going to thread seal.
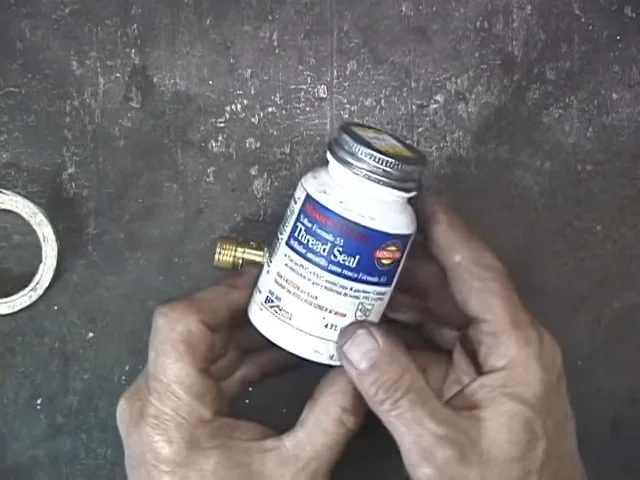
Thread seal is a little messy, but it does the job of sealing the joints. Simply wrap it around the thread, then screw it together and tighten it down.
Turn off the tank completely while checking for leaks. Ensure that the torch’s valves are closed. If you’re using a gas Saber, you’ll want to close that pile of light as well.
Potential Places for Leakages
A leak could originate from a variety of locations, such as the gas line, the regulator, the hose, the torch, or the weld joint.
The following is a list of possible locations where leaks could take place:
1. Regulators for Oxygen and Acetylene are the Main Things to Look at
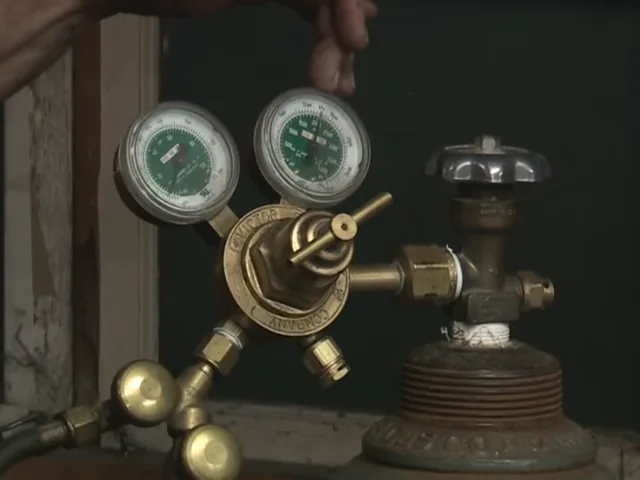
The most essential components of your system are the oxygen and acetylene regulators. It is possible for there to be a leak in the gas supply if one of these regulators develops a fault. This can be caused by cracks or leaks in the regulator, so you should carefully inspect them before welding to ensure that they are securely attached to their tanks and that they do not contain any holes or cracks.
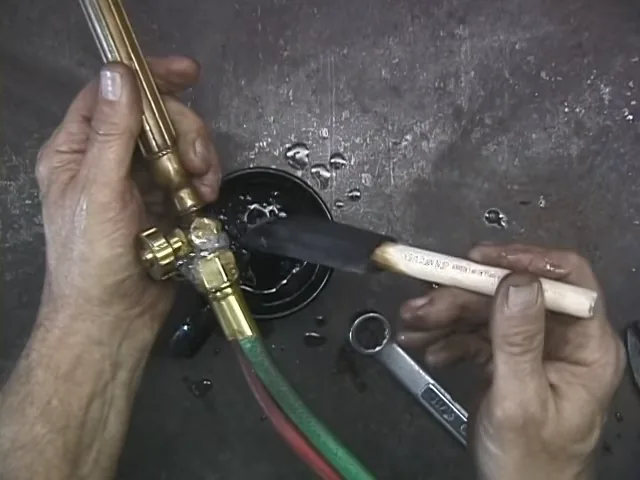
2. Connections Between The Hoses, the Manifold, and the Welder’s Torch
Between the torch, the manifold, and the hose, there are three connections that can be made:
- Adjusting the pressure with the regulator located on the hose
- The connection point on the side of your torch that threads onto its gas source (typically an acetylene bottle) and regulates the amount of gas that is drawn into the torch from that source.
- A brief section of the hose that connects this fitting to your welding setup and enables you to regulate the amount of gas that flows through it.
These are merely the most obvious potential locations for water to seep through. There are a great number of others, and it is essential to check all of them. The most essential component is ensuring that your system operates in a reliable and secure manner at all times. If there are any issues, you won’t have any trouble spotting them because they will be so glaringly obvious!
Avoid These Things to Stop Leakage
- Always check to see that the hose that is attached to your welding system is securely fastened and fitted.
- The fitting should be tight enough to prevent air leaks but not so tight that it makes welding more difficult. It should be sufficiently tight to prevent air leaks but not so tight that it creates problems for you.
- It is important to check hoses for any signs of damage or wear because hoses can easily become damaged if they are not properly maintained or replaced at regular intervals. Checking for any signs of damage or wear on hoses is important.
- The high gas pressure inside the cylinders has the potential to cause leakage, which can then result in an explosion or fire.
- Make use of a welding rod of high quality. Utilizing welding rods of the appropriate diameter for the task at hand is the most effective way to prevent gas leakage.
- Even though it won’t prevent leakage, you still need to make sure you have the right type of torch, mask, and other equipment for the job.
Final Words
Gas leakage is a dangerous situation to be in when it occurs. The best way to battle this situation is to learn how to detect the presence of gas leakage as early as possible. This will give you plenty of time to find the source of the gas leak and fix it. It is recommended that welding operators take some time at least once a week to inspect their equipment for any signs of gas leaks.
A thorough inspection on a routine basis will save you and those around you a lot of grief down the road. We hope that this article has been helpful in showing you how to detect and prevent gas inhalation injuries while performing oxyacetylene welding.
Informational
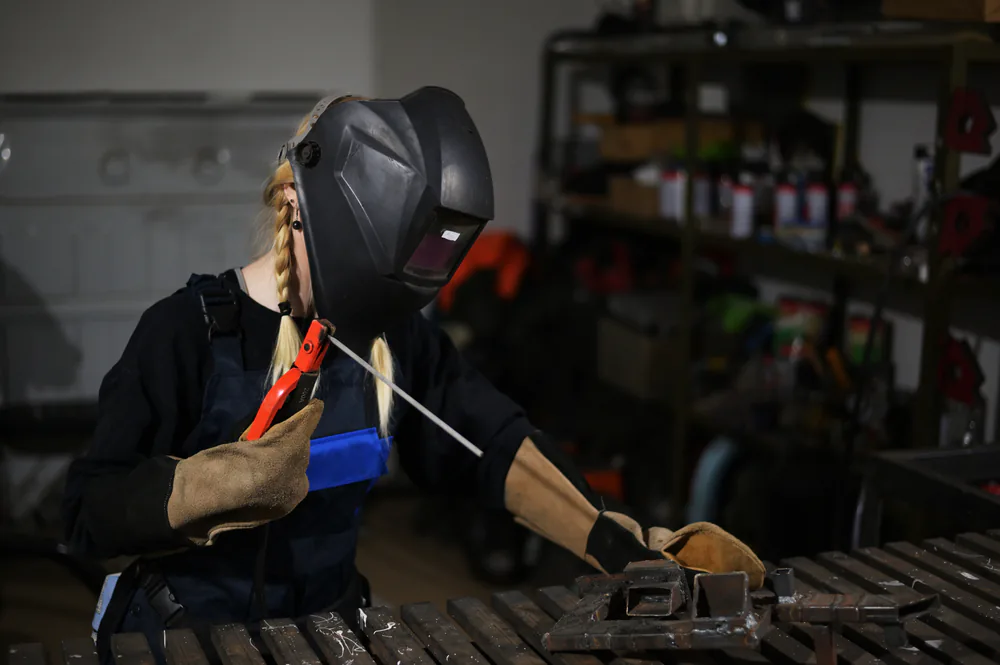
How to Weld If You Have Long Hair? Pro Welder’s Tips

Any welding operation that you perform puts you and anyone else in the area in danger of a number of different things. As a result, it is completely reasonable for you to be concerned about preventing your hair from becoming entangled in any welding equipment and posing a threat to your health. In this article, I will talk about how you can safely weld if you have long hair.
If you want to weld while having long hair, a French braid is the best option for keeping your hair together. This will help you in tying your hair and hold it together behind your neck. The French braid should keep the hair compact and close to your head’s shape, and it also allows you to wear a welding helmet. As a result, you will be able to wear full safety equipment.
When you are dealing with hot weld spatters, having long hair can present a particularly difficult challenge. Therefore, if you are interested in learning more about how you can safely weld with long hair, continue reading the rest of this article, where I will discuss the topic in greater detail and share some helpful hints.
How Your Long Hair Can be an Issue While Welding?
Welding procedures, as I indicated earlier, expose the operator as well as anybody else in the vicinity of the workplace to a wide variety of risks. A project involving welding presents a number of potential dangers and threats; it is important that you be aware of these issues in order to protect not only yourself but also others around you. Especially when dealing with spatters, it is easy for things to go wrong if you have long hair.
Before we look at all of the tips you may weld with long hair, we need to first understand the potential risks you run and everything that might go wrong. Long hair poses a unique set of challenges when it comes to welding. A few are mentioned below:
- Spatters are your hair’s worst enemy.
- UV rays can permanently damage your hair.
- With long hair, grinders can cause serious accidents.
Let’s look at these problems one by one:
1. Take Spatters Seriously
The spatter, sparks, and heat generated by the arc provides the greatest challenge throughout the welding process since they may travel up to 35 feet and enter any nearby place. You will want to provide enough protection for your long hair if you are going to be in an atmosphere like this.
Not just your hair, but everything else that might catch fire should be kept at least 35 feet away from the welding location. In addition, a fire extinguisher should never be far away. In the event that a fire breaks out.
2. UV Rays Can Damage Your Hair Permanently
Molten metals, welding arcs, and ultraviolet radiation will be present in the work environment while welding is being done. The interaction of all these factors puts you at an increased risk of serious burns. The actual welding arc may reach temperatures of up to 10,000 degrees Fahrenheit, making it one of the hottest processes possible.
And believe me when I say that you do not want that welding arc to get anywhere near your hair. Your hair will suffer a significant amount of damage as a result, and it is possible that it could even be burned.
3. Grinder Can Give You Nightmares
The usage of grinders is another factor that may create issues for your lengthy hair. Using grinders and welding go hand in hand when working with metals. Therefore, if you are a welder, you will most likely make extensive use of the grinder. And grinders are really your worst enemy when it comes to your long hair.
When you’re working, you can find yourself crouching over a grinder, which can cause serious accidents if you don’t protect your hair properly.
Tips from a Pro Welder to Protect Your Long Hair When Welding
Now you know what the most obvious dangers that you have when welding with long hair. The next step is to tell you how you can keep yourself safe from those dangers.
Here are a few of the tips that you can consider:
- Braid your hair while welding
- Put your hair in a tight knot behind your neck
- Consider buying a welding cap
- You can use a bandana too if you are a bandana lover
Let’s discuss these tips one by one:
1. Braiding is the Best Option You Have
Welding hoods, helmets, or shields will provide the optimum amount of protection from any sparks, heat, UV rays, flash burns, or infrared light that may be present. They will protect not only your face and neck but also your eyes and hair. As a result, I feel that acquiring one is the best approach to protecting oneself.
Welding hoods are often made of cotton or leather and are rather light in weight and can go easily along with helmets. Make sure that whichever helmet you decide to purchase, is not too heavy and that it is comfortable to wear. It must also include a spatter barrier, the ability to be modified, a sensor bar, and the availability of replacement components.
2. You Can Simply Put Your Hair in a Tigh Knot
The most conventional and easiest technique for a welder operator to keep their long hair out of their face is to pull it back into a tight bun. Wrap an elastic band over your buns and secure them in place to prevent them from falling on your face.
If there are any unruly hairs, just use bobby pins to push them up and you should be OK. Anything that prevents your hair from falling on your face will suffice.
3. Consider Buying a Welding Cap
A welding cap is a good option if you want something that is both lightweight and comfortable. It must adequately shield your head from any hot metal, sparks, or splatters that may be present.
Not only they are effective in protecting your hair, but they are also made completely of cotton, making them incredibly breathable and also preventing sweat from pouring down your eyebrows while working.
4. Bandana is Another Option That You Can Use
Braids are not easy to create for everyone, and they may even be difficult to perform on a regular basis. If you don’t know how to braid my easiest suggestion would be to put a bandana over your head and tuck all of your hair within.
When welding, sparks will fly everywhere, and this will keep you safe. Make use of bobby pins or a bun to tuck in all of the ends. Bandanas aren’t my first choice for headgear. But it works. It’s a good option to have in case you don’t know how to braid your hair.
Few Other Safety Measures That You Need to Take
In addition to your hair, there are a few other parts of your body that need your attention. Some of these essential measures for ensuring your safety are listed below:
- Protect your eyes at all cost
- Always keep a fire extinguisher in your shop
- Wear protective clothing
- Make habit of using respirators
- Beware of leakages in your welding system
- Keep your welding space clean
Let’s discuss them one by one:
1. Protect your eyes at all cost
Be sure to always wear safety glasses in your workplace to protect your eyes from flying debris, which is often composed of metal. If you routinely do welding tasks, you will be exposed to a significant amount of flying debris.
You should make it a routine to put them on as soon as you come in the door; this will ensure that you are protected at all times.
2. Always keep a fire extinguisher in your shop
You shouldn’t be shocked if anything catches fire at some time during a welding operation because of all of the intense heat and sparks that are produced throughout the process. Because fires are a very real risk, you should always have an extinguisher on hand in case one breaks out.
3. Wear protective clothing
If you’ve ever imagined yourself beginning your first welding project in a pair of shorts, an old t-shirt, and a pair of flip-flops, you should rethink that idea. Wearing the necessary protective clothing at all times when welding is required if you wish to prevent injuries to your body, notably burns, that may be caused by the process.
4. Make habit of using respirators
You should always wear a respirator if you are going to be dealing with metals or any other materials that have the potential to emit harmful vapors.
Welding or cutting certain materials may produce a welding plume, which is a combination of hazardous gases, fumes, and smoke. This is not the type of thing you want to breathe in if you want to keep your lungs healthy and prevent respiratory issues.
5. Beware of leakages in your welding system
There is a good chance that you have pressurized containers in your welding shop that hold liquids or gases. Take extra precautions to check that none of those containers or the items that you are attaching to them have any leaks in them.
See my other article to know more about leakages and how to detect them.
6. Maintain your equipment
If you want to establish the safest possible working environment for your welding projects, you need to give your equipment a lot of TLC and make sure it’s in good operating order at all times. If your welding equipment and tools are in disrepair, an accident is almost waiting to happen every time you use them. However, the vast majority of incidents of this kind are avoidable if proper care is taken with the equipment.
Wrapping it Up
When it comes to welding, safety is the most important thing to keep in mind at all times. Because because welding involves a significant amount of fire and spatters, it is essential that you take a significant amount of precaution to protect your hair. I really hope that you’ll be able to keep your hair under control while welding thanks to the advice that’s been provided in this article.
Guides
How to Repair Damaged Pinch Weld? Is it possible?
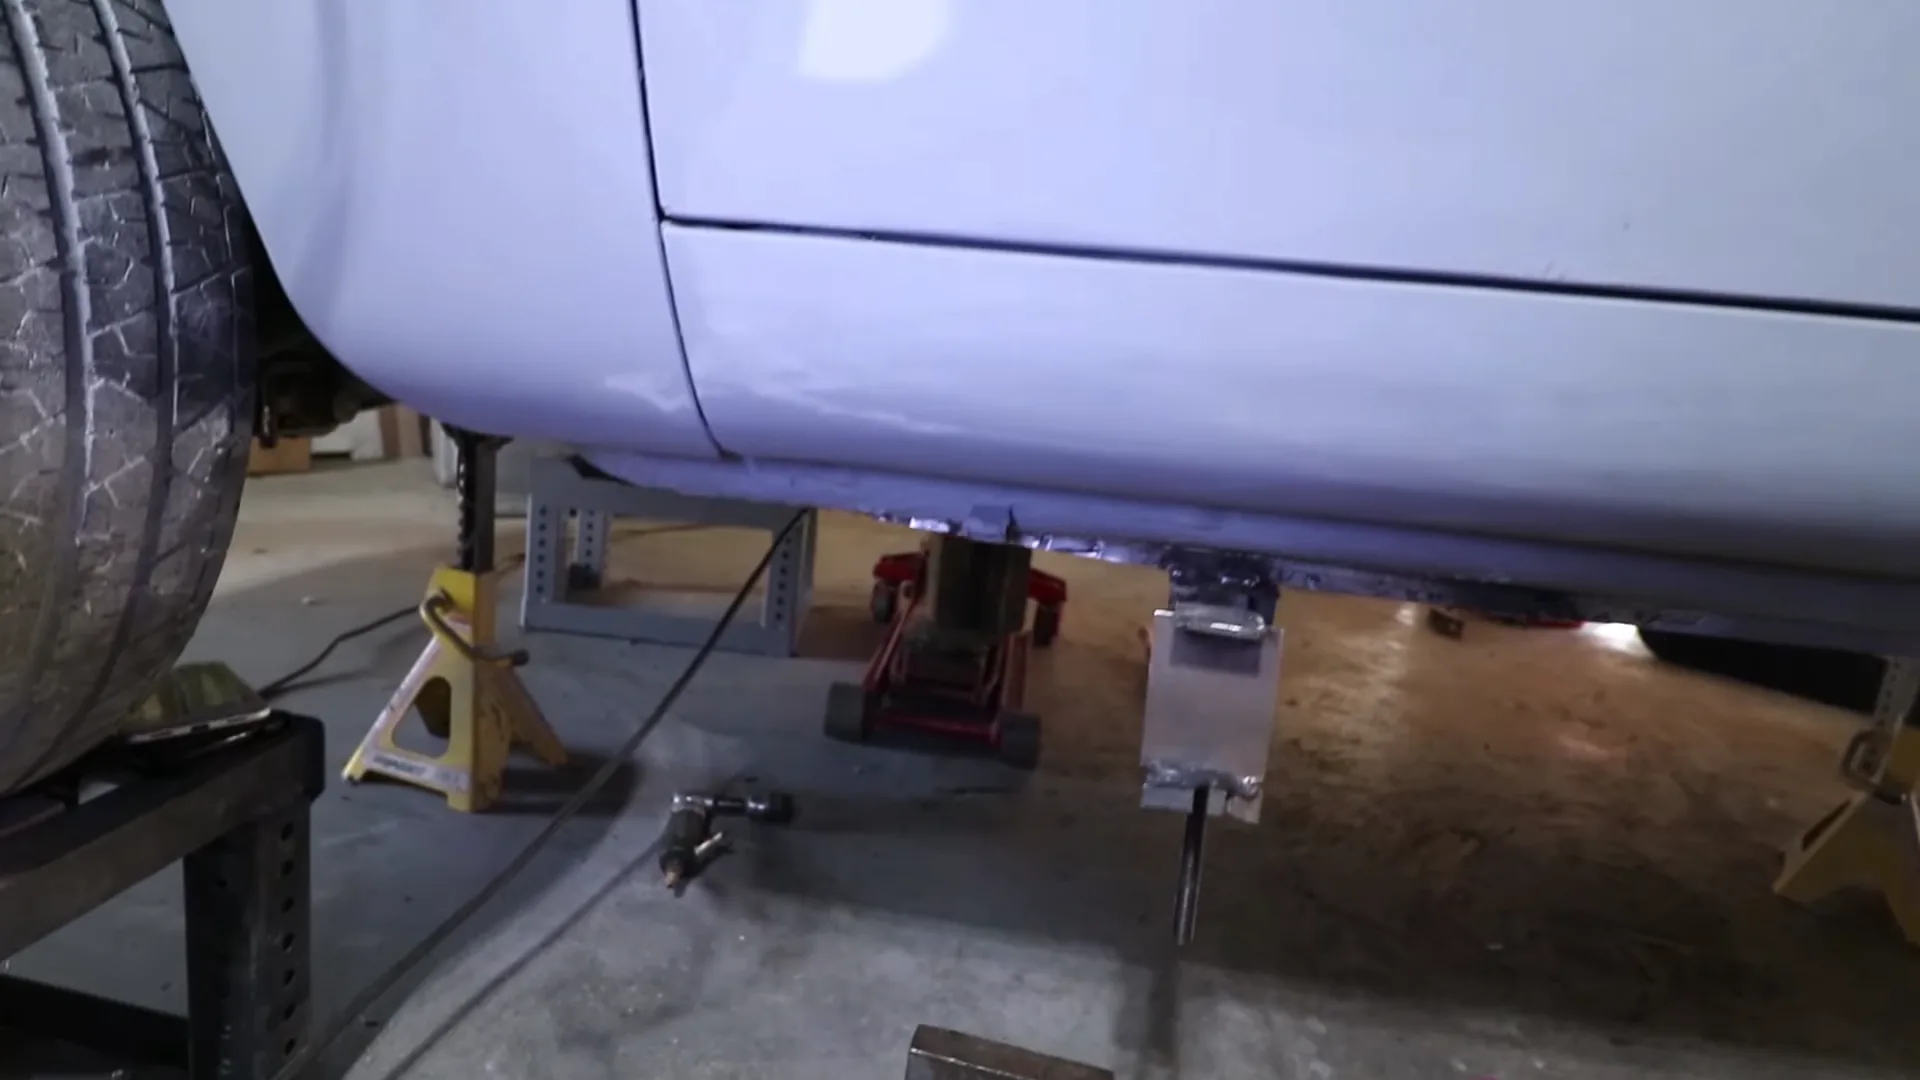
Every vehicle has a pinch weld, which is the most difficult connection and is required for safety. However, pinch welds can be damaged by improper floor jack placement. Is there really a way to solve this problem if this happens? In this article, I’ll go over how to repair pinch welds in great detail.
Pinch welds can be repaired, but how you do it will depend on the circumstances and kind of damage. It is sometimes simple to fix them, but there are other times when it is impossible or extremely difficult to fix your pinch welds. You might want to replace your pinch welds in that case.
Damaged pinch welds can be catastrophic for your vehicle, as they can lead to the destruction of joints and components. A major cause for concern is the fact that a defective pinch weld can led to the total destruction of a vehicle body. Whether or not pinch welds can be repaired is a frequently asked question. Thus, a simple response like the one above will not suffice.
In the following paragraphs, I will describe in detail the various types of damage that can occur to your car’s pinch welds, as well as the methods for repairing them. So, let’s get started.
There are 3 Types of Damage to Pinch Welds
As I have mentioned earlier how you’ll fix your pinch weld heavily depends on what sort of damage you have. So, if you’re trying to repair your pinch weld, the first and most critical step is to determine the kind and extent of your damage.
Here are a few of the most common pinch weld damage types:
- The joint getting bent inwards
- Rust damage
- Entire joint breakage or getting messed up
So let’s discuss these damage types one by one
1. Pinch Weld Joint Getting Bent Inwards
The first type of damage that we have is called an inward bent of joint. The majority of the time, this occurs as a result of improper placement of the jack. If a vehicle is jacked up incorrectly, the weight of the entire vehicle has the possibility to become concentrated in a single point.
Because of this, there is a chance that the joint will bend inwards, but there is also a chance that it will bend outwards.
2. Rusty Pinch Welds
Rust damage is the most prevalent type of damage that can occur. Rust has the potential to cause significant damage to an automobile’s pinch weld, which can ultimately lead to the total destruction of the vehicle’s body. Rust damage is difficult to predict because each instance is unique.
In easy words, there are numerous reasons that can cause rust damage. Depending on the severity of the damage, it is possible that this type of damage will prove to be the most challenging to repair. which we will discuss in greater depth in the following paragraphs.
3. Entire Joint Breakage
The third and most dangerous scenario is that the joint will either sustain total damage or destroy entirely. This is the worst-case scenario. If this happens then the two parts of the joint will no longer be able to be connected to one another.
It is possible that this could happen due to improper jacking, but in most cases, damage from an accident or from running over a particularly large bump or speed breaker causes it.
Is There a Way to Repair Your Damaged Pinch Welds?
It is possible, as I mentioned earlier, that you can repair the damaged pinch welds, but the success of such an effort is entirely dependent on the nature of the damage. There are some types of damage that might not be able to be fixed at all, despite the fact that the majority of damages can be fixed with some trial and error.
Now that we are aware of the type of damage, I believe that it is time for us to move on to the solution for it. In the following paragraphs, I will go over a few of the techniques that can be used to repair pinch welds.
How to Repair Damaged Pinch Welds?
Here are a few methods that you can use to fix your damaged pinch welds
- Straighten it out with a wrench.
- Straighten it out with a vice clamp.
- Make your own tools to pull the pinch weld down
When it comes to repairing the pinch weld, the approach mentioned above will be determined by the level of damage sustained. Repairing dents and loose components is often a simpler task than repairing rust damage.
If Your Pinch Weld is Bent
If your pinch weld is bent then you have 2 options to fix it
Option 1: Using a wrench
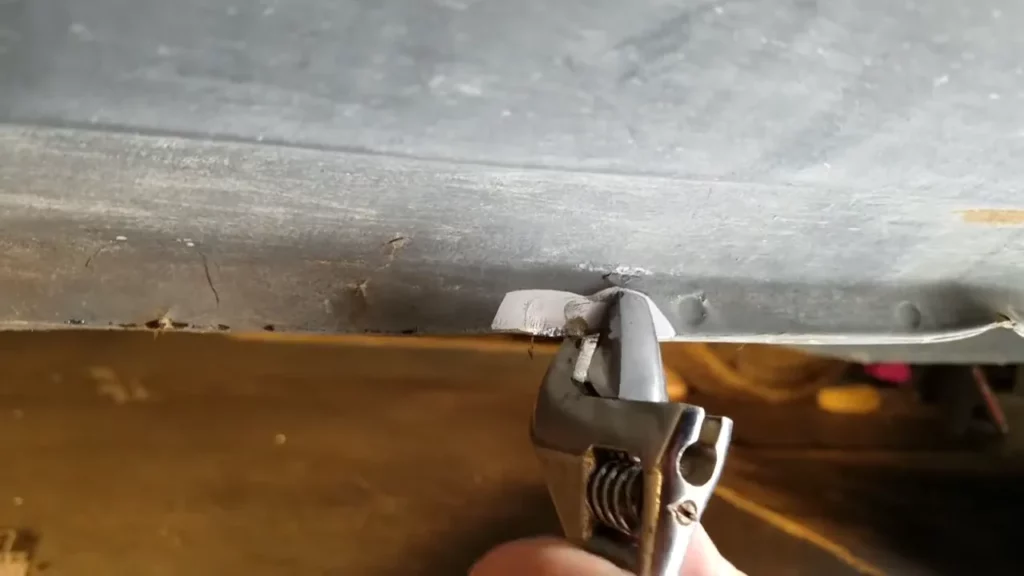
So this is the simplest and quickest fix. Simply insert a wrench into the pinch weld and tighten it according to the diameter. And then turn the wrench in the opposite direction of the bend until it straightens up. This procedure will cause paint loss and expose the metal. You can cover it up with a spray.
Option 2: Using Vice clamp
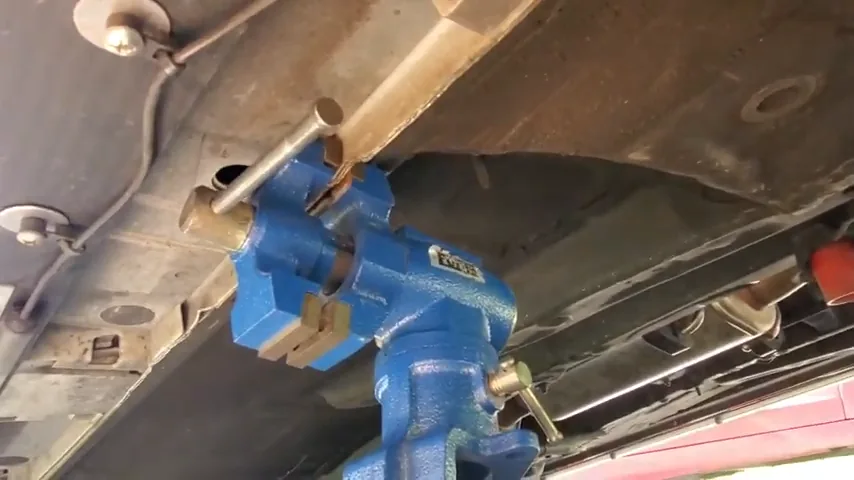
This method is similar to the previous one, but instead of a wrench, a vice clamp is used to straighten the bent. Simply place the vice clamp at the point of the bend and tighten it until the bend is straightened.
If Your Pinch Weld is Rusty
In a situation like this one, the method that will be required will be determined by the degree of rusting that occurred to the pinch weld. If the pinch weld on your vehicle has only developed a light tint of rust, you should be able to easily remove the rust from your pinch weld by using an anti-rust spray.
On the other hand, if the damage is too severe, you might want to consider replacing the pinch weld.
If Your Pinch Weld is Pressed and Wrecked
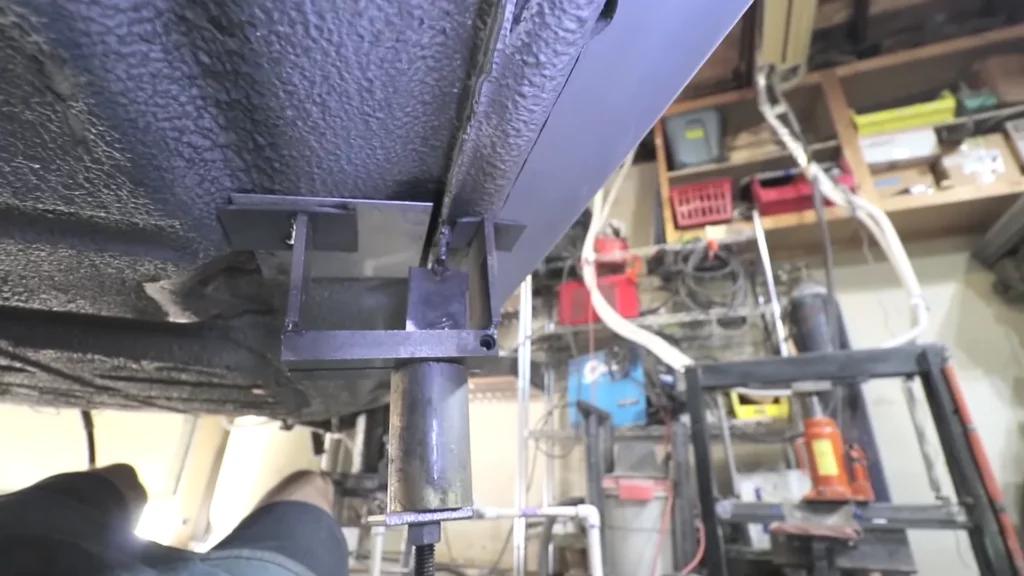
In this case, you may want to create your own custom tool. You may be wondering what custom tool I’m referring to. The solution is to design a tool that can pull the bent down for you. This requires a lot of imagination and hard work, but don’t worry, I’ve got a video for you.
Take a look at this video to get an idea of the type of tool you’ll need to build.
Please keep in mind that if your pinch weld is overly pressed in, these tools will not help you. The only thing you can do is replace the pinch weld.
Wrapping it Up
Any damage caused by pinch welding can be repaired in a variety of ways. Depending on the severity of the damage to your pinch weld, you will have a few different options to choose from when attempting to repair it. Additionally, there may be times when you need to completely replace your pinch weld.


Kitchen Tools and Equipment that You Must Have

Optimizing Your Bedroom Lighting for a Perfect Sleep: 7 Ways to Follow

Energy Efficiency and Style: The Advantages of Roof Windows in the Modern Home

How to Weld If You Have Long Hair? Pro Welder’s Tips

What are Floating Kitchen Cabinets? Complete guide to Floating Cabinets!

How to Repair Damaged Pinch Weld? Is it possible?

How Do I Choose a Cup Size of TIG Welding [Cup Size Chart]

How Much Electricity Does Welding Consume? [Excel Sheet]

Which is the Best Welding Rod for Pipe Fence?

E6013 Welding Rod: A Complete Guide With Specifications, Settings & Amps Table

Why Won’t My Solder Stick? 6 Common Causes and Solutions

Does Welding Shorten Your Life: Life expectancy of a welder?